How Often Do Knives Need to Be Sharpened?
Sharping your dull knife will make a big difference. A sharp knife slices with ease, and dull knife can be dangerous.
A kitchen knife should be sharpened every 1-2 months. Hone every week if you prefer a razor-sharp edge. For your professional chef’s knife, you should have your knives professionally sharpened every 1-2 years. However, you might also still choose to sharpen them yourself every 2-3 months. Investing in a good sharpening stone to get that sharp knife feel is another option from the honing rod; you will have your blades feeling like a new edge.
Since knives regularly are used, they are one of the essential tools in any kitchen. No one likes dull knives. They will make your job in the kitchen a difficult one. So keep them maintained with regular care. This way, they will last you for years. If it’s been a while since your knife has had a sharp edge, it may be an excellent time to learn how to sharpen it.
How to Sharpen Your Knives in 10 Steps
How to sharpen your knives: it's a lot like riding a bike. Once you learn how you will remember and do it without much effort. Even if there are extended periods between sharing. Here are ten steps to getting your knife in tip-top shape.
1. Choose a Knife Sharpening Tools
Keeping your knife in top condition is an essential part of cooking. You need to hone it frequently and sharpen the blade every few months with a steel rod and a sharping stone depending on how often you use it, and when dulling begins to occur, it can make a difference in chopping your veggies.
Choose what sharpening stone or honing rod will work for you as you need to sharpen your knife.

2. Clean the Knife Blade
Before thinking about sharpening your knives, please start with a clean blade.

3. Hone Your Blade
Honing your knife will help keep the edge straight and sharp. You’ll need to use honing steel, though it’s not as complicated as one might think.
Simply position them comfortably in hand with the heel touching a 22-degree angle at the top and move downward with gentle pressure; apply just enough pressure so that you can feel some drag against metal when moving the knife across its surface while maintaining an even comfortable grip on the handle without cutting into the skin.

4. Find the Angle
Honing steel is used to realign the edge of your blade without shaving off much material. To do this correctly, you must find the right angle to hold the honing tool to get the precise angle to sharpen the knives.
The preferred angle to hold the honing steel is 15 degrees.

5. Slide the Knife at the Angle
To sharpen with steel, hold it vertically at a 15-degree angle and place the heel of your blade against one side.
Place the blade as recommended and slide down in sweeping motions while maintaining light pressure,

6. Test the Edge
Test your blade against an onion to see if the knife is sharp enough. If it cuts more quickly than before, you’re done testing and can move on!

7. Sharpening with a Knife Sharpening Stone
While sharpeners can be simple or sophisticated, they all have one thing in common: a sharpening stone. Using a Whetstone Is the best way to get your blade in the top shape.
Sharpening with a Whetstone makes the biggest difference with your knives, giving a brand-new edge to your old knife when it gets dull.
Sharpening frequently depends on how much you cook. If you are a home cook, that is often. You’ll know it’s time to sharpen your knife when it’s so dull that honing doesn’t help, and slicing your meats is a chore.
Electric sharpeners may seem safer and easy to use, but the blade may not be re-aligned like the manual process.

8. Repeat Until Blade is Sharp
Repeat the steps above until your blade is sharpened to your liking.

9. Keep Your Knives Sharp
With proper care, your knives will last a lifetime. Keeping them sharp and knowing when they need to be sharpened help with everyday cooking. This way, you can cut through tomatoes, onion and carrots without hesitation. Practice routine maintenance to keep your knives sharp.

10. Store Safely
Storing your knives properly is part of the process of keeping them sharp. Always store them in a safe place free from children and other people who might get easily harmed by them.

Things to Look For in New Knives to Ensure They Stay Sharp
When shopping for knives, there are some things that you need to be aware of. Here are the main things to look for when trying to ensure your knives stay sharp.
Design
Be sure to pick a knife with an ergonomic handle design because having the right tool that gives you the comfort for a job at hand ensures efficiency during each cut. Ensure that the handle has been designed with a sturdy material that ensures safety in your kitchen We did our best to pick knives that have a sleek look.
New hybrid designs marry the best of both worlds by using high-carbon stainless steel to create an incredibly sharp blade that’s also rust and stain resistant, so you can cut through tough materials like meat without worrying about discoloration on your food while still enjoying great knife performance with hand honed edges at 14 – 16 degrees.
Material
Stainless steel knives are an excellent choice for people who want their blades to last. Made from corrosion-resistant metals, these kitchen essentials can withstand years’ worth of cooking without getting dull or needing attention in maintenance!
You’ll want a knife with rust resistance, so it doesn’t affect your kitchen experience when using knives in kitchens where food is constantly being washed off after every use. Stainless steel is great for this.
Shape
Cutluxe knives are often curved on the blade’s cutting edge side, making them perfect for mincing. Their edges usually have a double-beveled finish that’s sharp enough to cut through anything you place before it without worrying about damaging your ingredients or yourself!
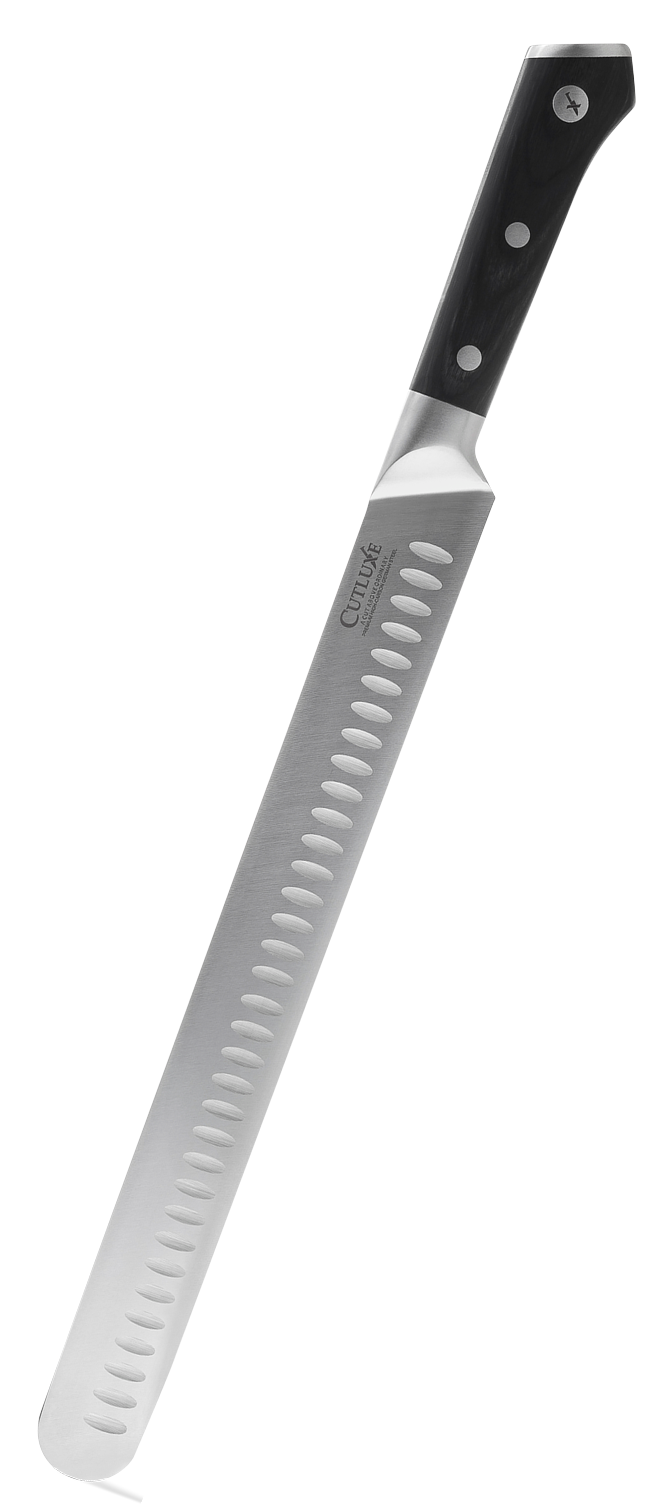
- Razor-sharp edge for carving
- Luxury Paakawood handle for comfort and grip
- Rust, and stain resistant
- Granton blade edge for precise slicing
- Tapered bolster that provides finger protection
- Slices meat with ease
- Lifetime warranty
Sharpness
The blade of the Cutluxe knife is sharpened by hand at 14 or 16 degrees to give it a perfect edge. This means that in addition to the thin & sleek design, you’ll also have an extremely strong material that can withstand years’ worth of abuse.
A knife guide is essential to any kitchen, but finding the right one can be tough. In general, you want to look for something that has a Rockwell scale rating of 56 is essential, anything lower will dull too quickly and make your life difficult when cooking with sharp objects!
Products To Help Sharpen & Stay Sharp
The Cutluxe Artisan Series Sharpening Rod is designed with blades that have been sharpened and polished to create an edge but won't stay sharp for long if you don't take the time to sharpen your knife blade. When sharpening knives, it's idea to use a sharpening rod such as the Cutluxe 10" sharpening honing rod. Below you will find more information on this product, and others that you can use when seeking out knives that stay sharp.
1. CUTLUXE Artisan Series
10" Sharpening Rod
Best Knife Sharpener
Pros
• Full Tang Construction
• Ergonomic Handle
• Grooved for a straighter edge
• Keep its shape
• Easy to useCons
• Requires very precise positioning.

10 inches sharpneing rods are great for daily maintenance of your favorite knives. It makes them sharper and quicker. This is a great tool for all types of different knives. You can also use this same technique on sporting pocket knife edges, santoku knives, and serrated knives. It will be almost as good as when you first received your knife.
The Cutluxe Artisan Series 10-Inch honing rod is used to hone and re align your knife edge easily. Keep all knives in great shape with this high-quality steel’s durable construction that ensures it will not rust or corrode over time.
It has an easy grip handle which makes it perfect for ensuring safety during use while maintaining maximum performance when using this tool on any size blade whether big or small.
The luxury packaging box looks nice, so you can store your utensil properly after using them! It is well-made. This hone a fit well in, even the smallest hands. No matter if its kitchen, chef’s knife , serrated knife, or santoku knife, it works well.
2. Cutluxe Artisan Series
Kitchen Knife Set
Best Kitchen Knife Set
Pros
• Razor sharp blades
• Honing tool to keep knives sharp
• Luxury pakkawood handle for excellent grip
• Lifetime Warranty
• Long-lasting performanceCons
• Set is on the pricey side
• Knife Block is big

Do you need a set that can do it all? Well, look no further than Cutluxe’s Artisan Series. These knives are perfect for just about any purpose and have blades made from the best steel to suit your style preferences! Whether you prefer a traditional expensive knife made for a chef or a more affordable one.
The Cutluxe knives are made from high carbon stainless steel and have been tempered to prevent corrosion. They’re honed, having 14-16 degrees per side for peak performance; they also feature full tang construction. These can easily cut through anything like paper.
Due to their handle stability, cutting through heavy food such as meatloaves helps ensure every slice has an even thickness all around. The blade will last longer than most because the quality material gives great edge retention while providing more advantages like greater durability.
Whether you’re a professional chef or home cook, the Cutluxe Artisan Series knife is perfect for any purpose. The blade features provide the necessary strength and sharpness while still being light enough that it doesn’t tire your arm after an hour of use in kitchen prep duty!
What is Included?
Cultuxe 8-piece knife set includes an 10″ bread knife, a 9″ carving knife, 8 inch chef’s knife, a 7″ santoku knife, a 5″ serrated utility, and an 8″ hone rod for keeping your blades like a razor. The acacia wood block has slots that allow you to easily place any size or type of kitchen tool so it will stay right where we need them most.